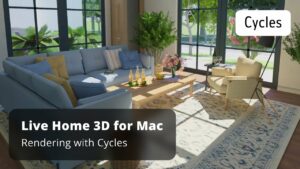
In Live Home 3D for Windows, users have the ability to export highly realistic 3D views with the help of the Cycles rendering engine.
This rendering engine creates accurate lighting and material renders with the help of path-tracing algorithms. However, in order to get stunningly realistic results, first you need to understand the settings of the rendering engine and which ones you should use to achieve the desired image.
To start using it, select Export – Render with Cycles in the app’s menu.
Note that most of the default rendering settings do not require changing, unless you’re rendering demanding scenes, which will be covered in this video.
Timecodes:
0:00 Intro + Starting work
0:45 Render Devices and CPU Threads
1:31 Camera and Resolution
2:22 Render Samples and Tiles
4:15 Advanced Rendering Settings
4:34 The Environment Light Intensity parameter
5:02 The Max Ray Diffuse parameter
5:42 The Max Ray Glossy parameter
6:32 The Max Ray Transmission parameter
7:12 The Max Ray Transparent parameter
7:53 The Indirect Light Clamping parameter
8:12 The Adaptive Sampling mode
8:46 The Backfaces Displacement functionality
9:13 Tips & Tricks of Rendering with Cycles
source