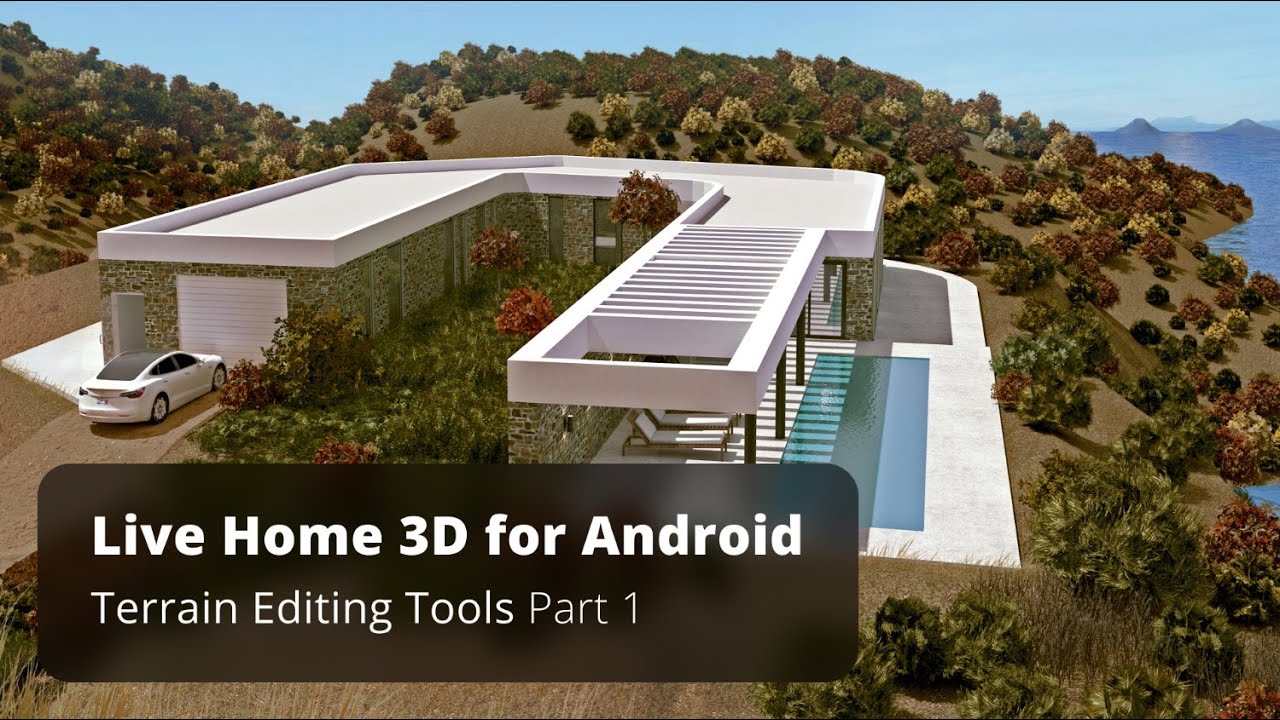
In this video, you will learn how to use terrain editing tools available with the Pro Features of the Android app.
For this tutorial, we use a two-story house project, but you can use terrain tools for any house project you’re working with. All the terrain work is usually done in the 2D view, while the 3D view is used mostly to preview the result. Now let’s switch to the 2D view mode.
The terrain editing tools can be found under the Site menu. As you can see, only Terrain Rectangular and Terrain Polygonal tools are active at the moment. Let’s see what they do, and how the rest of the tools can be activated. Once I selected, the Terrain Rectangular tool, the warning dialog appears saying that we need to switch to the Site level to edit the landscape around the house. I switch to the Site level, and as you can see, the house plan view changes to outline. And now I can add terrain elements.
The Terrain Rectangular tool which I just activated, allows me to set the area where all landscape modelling work will take place. As you can see, the rest of the tools immediately become unlocked in the drop down menu once the terrain area is set.
In real life the terrain rarely has such a plain surface. Usually it has some bumps and depressions. In our next video you will explore how to create more complex terrain models.
To learn more about Live Home 3D for Android, go to:
https://www.livehome3d.com/android/live-home-3d
Timecodes:
0:00 – Intro
0:24 – Switching to 2D view mode
0:36 – Terrain editing tools presentation: Terrain Rectangular tool and Terrain Polygonal tool
0:49 – Switching to the Site level to editing the landscape around the house
1:33 – The Terrain Rectangular tool highlights
2:11 – Adding an elevation
source


